Tuesday, August 9, 2011

Bathe Your Soul

One of my favorite things to eat is sole poached in butter. Which got me to thinking the other day as I savored this decadent meal, what if I could poach my soul in butter? How good would that feel?

I'm going to work on that recipe.

In the meantime, I try to find recipes that are so satisfying they make my soul feel as if it's been bathed in butter. And you don't need actual butter to do that. You just need to feel happy about what you're eating.

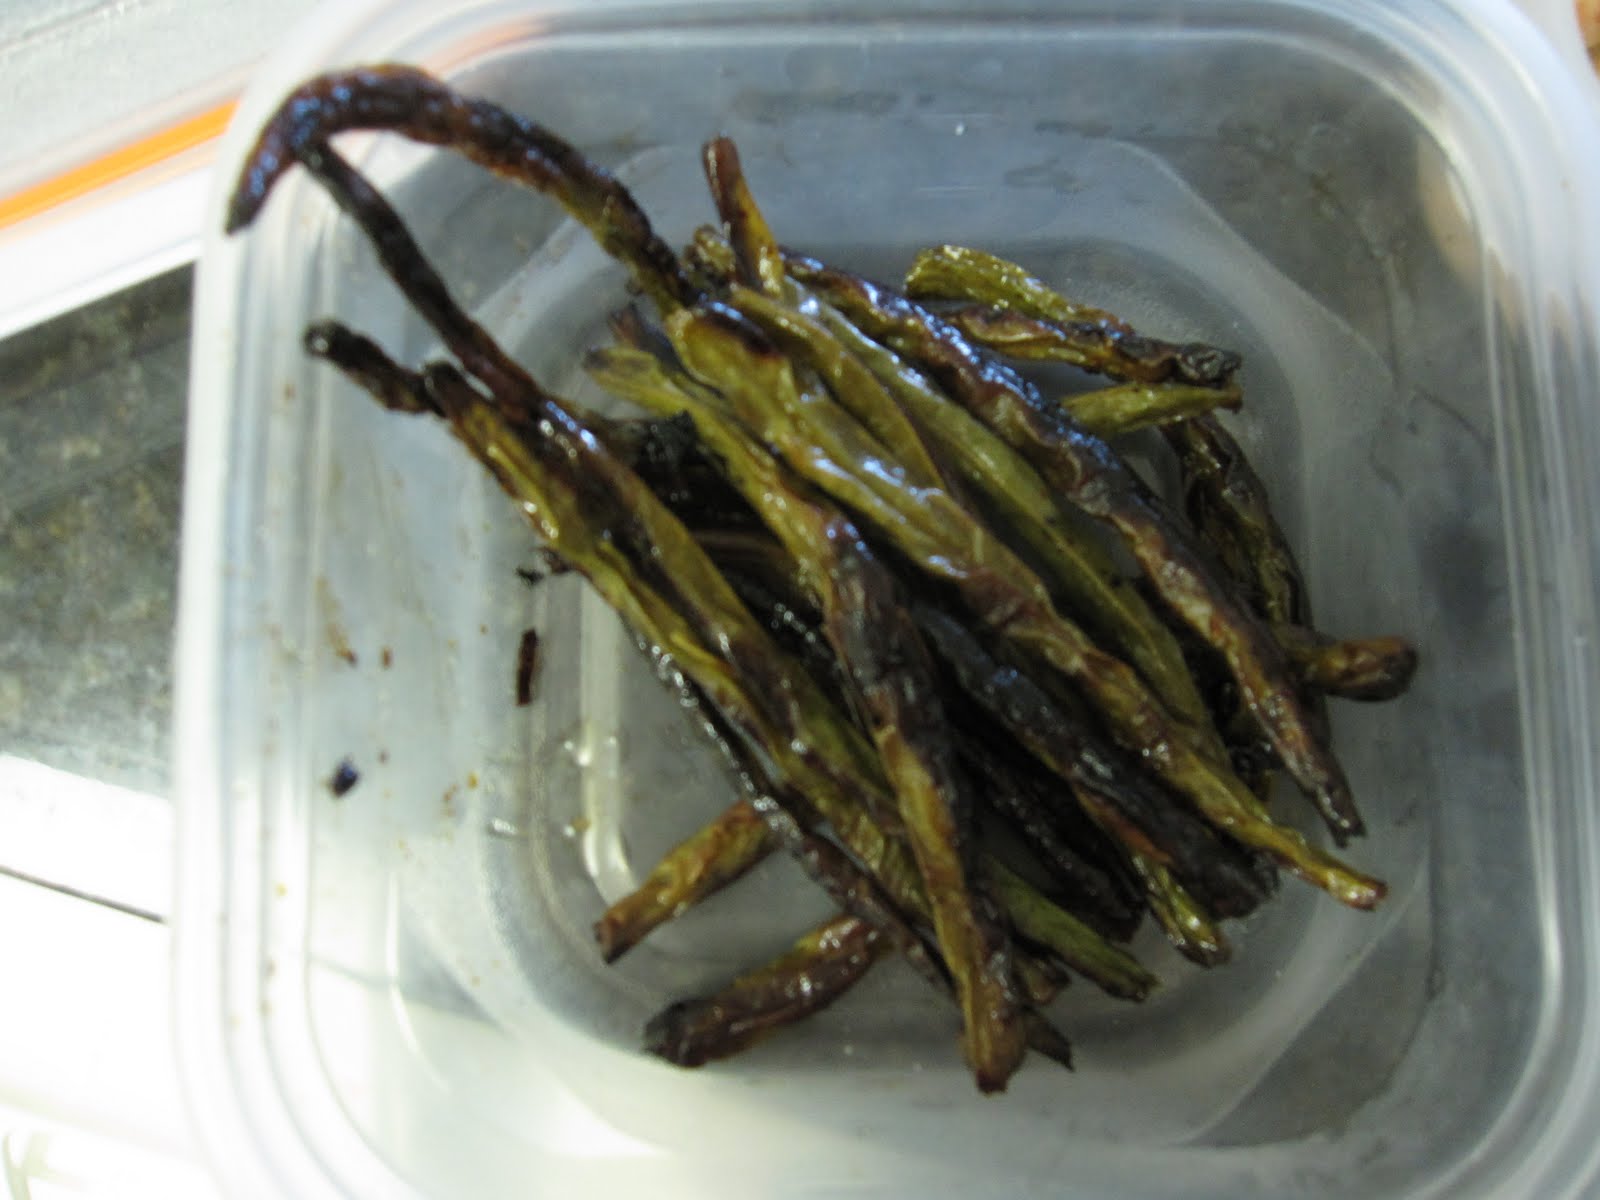
Tonight I surprised myself with a simple recipe that I only tried because I didn't know what to do with Swiss chard. I never buy Swiss chard, I never buy tortellini, I never buy pine nuts, and I don't much like raisins, but because of an organic vegetable box delivery and a recipe that came with it, I ended up putting all of those things on a plate together. And it was delicious.


But let's not forget the secret ingredient that pulled it all together - garlic! A fine mince of garlic sauteed in oil coats the greens and nuts. The golden raisins, plumped in water and then added to the pan add rich sweetness to the bitter greens. Throw it on top of cheese tortellini, salty and creamy, and you have every texture and every flavor needed to bathe your soul in happiness. And you feel good because you don't even notice you're eating vegetables!

Swiss Chard with Raisins and Pine Nuts (Door to Door Organics)

Yield: 4 servings

Ingredients:
  • 3 tbs pine nuts
  • 2 lbs Swiss chard
  • 3 tbs raisins
  • tortellini (optional) - for four servings
  • 4 garlic cloves, minced
  • 2 tbs olive oil
  • salt and pepper, to taste (if tortellini is very salty, then no added salt is needed)

Place raisins in a bowl and cover with hot water for 10 minutes, drain.
Meanwhile, bring well salted water to a boil in a large pot and add the chard. Cook for 1 to 2 minutes and transfer to a bowl of ice water. After a few minutes, remove the chard and squeeze out water. Remove stems and coarsely chop.
Cook tortellini (if using) according to package directions.
Heat oil on medium in a nonstick skillet. Add the pine nuts and cook, stirring until they begin to lightly brown, 2 to 3 minutes. Add the garlic and cook briefly, stirring as you go. Add the chopped greens and raisins and stir together until they are well coated and heated through, 2 to 3 minutes. Season to taste with salt and pepper.
Serve with tortellini or as a side dish

Thursday, July 14, 2011

The Taste of Summer

Summer is flying by and I have been delinquent about updating this blog. I have a perfectly good excuse but sometimes when you make a commitment to something, it leaves other things behind before you realize it. People do that to their friends all the time...I only do it to my blog. But the good news is that I have not been delinquent about cooking.

Summer to me is about pulling out my ice cream maker, one acquired in a divorce which is pretty funny since I've never been married. But I'll take other people's discarded wedding gifts any time. Over the last few years, I've made all kinds of fruit ice creams - blueberry, strawberry, raspberry, and peach. I've made a few vegetable ice creams like pumpkin and corn. But this is the first time I've made an ice cream from a flower, or to be perfectly honest a tea bag of dried flowers.

I first had chamomile ice cream at a restaurant, on an apricot bread pudding. As soon as I tasted it, I was in love and came straight home to hunt down a recipe. The concept is fairly simple. Like a tea, you steep the dried chamomile in hot milk. Then carry on with ice cream making as usual, tempering the egg yolk, whisking up a custard, chilling and processing. But it tastes so much better than a tea. It's so good you'll want to pour cream into your next cup of chamomile tea to recreate that creamy flowery flavor, the color of freshness, the taste of summer.


Chamomile Ice Cream

Ingredients:
  • 1 cup milk
  • 2 cups heavy cream
  • A pinch of salt
  • 3/4 cup sugar
  • 1 chamomile tea bag (check ingredients - should be only dried chamomile flowers)
  • 5 large egg yolks
Heat the milk, cream, salt, and sugar in a 3-quart saucepan. Add the chamomile tea bag to the mixture. Cover and remove from heat for one hour to allow flavors to infuse. Remove the tea bag before proceeding.

In a separate bowl, stir together the egg yolks. Re-warm the milk then gradually pour some of the milk into the yolks, whisking constantly as you pour. Scrape the warmed yolks and milk back into the saucepan. Cook over low heat, stirring constantly and scraping the bottom with a heat-resistant spatula, until the custard thickens enough to coat the spatula.

Place the saucepan in a bowl of ice to cool. Refrigerate to chill thoroughly for at least 8 hours but preferably overnight. Freeze the custard in your ice cream maker according to the manufacturer’s instructions.

Sunday, May 1, 2011

Instead of French Fries

French fries are a food that I've avoided eating for years now. It's not that I refuse to eat carbs or fried foods or even pretend to be on a diet. But fries are one of those things I like but I can resist, and I may as well take advantage and resist them. I prefer to save my calories for those things I can't resist, like cheese, ice cream, and baked goods.

There is nothing that can replace the taste of french fries late at night, and it beckons those college days when we'd visit the 24 hour Burger King when nothing else was open. I'd order a milkshake and fries, their mingling salty and sweet a flavor profile that even today will make me feel 18 again. We'd talk about the boys in our classes or the tennis players from our floor or the guy who looked like actor Andrew Shue (Remember Melrose Place?). We'd huddle up in the cold walking back to the dorm, years of college ahead, friends we had only just met not knowing we'd be friends for life, not knowing which night would be the last one we'd make that BK run.

I don't miss those French fries, and I don't honestly miss that life or that age. But I miss that feeling of comfort, surrounded by friends and no real responsibilities other than making a decent grade and getting a date to dorm formal. I seem to be on a "grown up" theme lately, so here's my grown up version of French fries.


These roasted green beans look and sound like a vegetable, but the crispy salty exterior and tender interior is exactly like a fry. You'll pick them up and eat them with your hands and you won't be able to eat them fast enough. Eat them with your friends, gossip a little, let yourself feel like a college kid again - but a wiser, healthier version of one.

Roasted Sesame Green Beans (Cook's Illustrated)
Serves 4

Ingredients:
1 pound green beans, stem ends snapped off
1 tablespoon olive oil
1/2 teaspoon salt
1 tablespoon mince garlic
1 teaspoon minced fresh ginger
2 teaspoons honey
1/2 teaspoon toasted sesame oil
1/4 teaspoon hot red pepper flakes

Adjust oven rack to middle position; heat oven to 450 degrees. Line rimmed baking sheet with aluminum foil; spread beans on baking sheet. Drizzle with oil; using hands, toss to coat evenly. Sprinkle with 1/2 teaspoon salt, toss to coat, and distribute in an even layer. Roast 10 minutes. Meanwhile combine remaining ingredients in a small bowl. Remove baking sheet from oven. Using tongs, coat beans evenly with garlic/ginger mixture. Redistribute in an even layer. Continue roasting until dark golden brown in spots and starting to shrivel, 10 to 12 minutes longer. Adjust seasoning with salt and toss well to combine. Transfer to serving dish.

Saturday, April 23, 2011

Grown Up Spaghetti


This looks like just a pile of spaghetti. Any old pile of spaghetti. The kind I've been eating since I was a kid. I must have been 1o or 11 years old when I started "cooking" for myself. I boiled water and made spaghetti with salt, butter, and parmesan cheese. I made grilled cheese sandwiches. I mixed flour and milk and butter and made misshapen biscuits. I loved my hot dogs with mustard and cheese. Cooking for myself as a kid meant I didn't have to eat vegetables and other weird things my parents made me eat when they were home.

These days I still make all those childhood favorites, but they've matured a bit. Grilled cheese is no longer made with American cheese and white bread, but instead a variety of cheddar, brie, goat, or mozarella on challah, wheat, or homemade Italian loaf. Hot dogs are topped with homemade ketchup, hot peppers, and olive tapenade. I make rosemary biscuits or bacon biscuits with real bacon fat. And just recently I discovered an all new grown up way to eat my spaghetti.

That plain looking pile of spaghetti is actually covered with a luscious sauce, an anchovy carbonara. It has the flavor of a seafood pasta or a linguine and clam sauce. The anchovies and garlic are cooked in plenty of olive oil, then spiced up with lemon zest, red pepper flakes, oregano and parsley. The flavored oil is tossed together with hot pasta, and then the final touch is to stir beaten egg yolks into the hot pasta to create a creamy finish. I could lick the plate, it's so good.

I love it when I eat something that reminds me of childhood and that special feeling of cooking something good, all by myself, all for myself.

Spaghetti with Anchovy Carbonara (Food and Wine)

Ingredients:
12 ounces spaghetti
1/4 cup extra-virgin olive oil
3 large garlic cloves, thinly sliced
One 2-ounce can flat anchovies, drained and chopped
Pinch of Aleppo pepper or crushed red pepper
1/2 teaspoon finely grated lemon zest
1 tablespoon chopped oregano
1/4 cup chopped flat-leaf parsley
2 large egg yolks
Salt and freshly ground pepper

In a large pot of salted boiling water, cook the spaghetti until al dente. Drain the pasta, reserving 1/2 cup of the cooking water.

In a large, deep skillet, heat the oil with the garlic and anchovies and cook over moderately high heat until the anchovies have dissolved, about 2 minutes. Add the red pepper, zest, oregano and parsley, then add the pasta and toss to coat. Remove from the heat.

In a small bowl, whisk the yolks with the reserved cooking water and add to the pasta. Cook over low heat, tossing until the pasta is coated in a creamy sauce, about 1 minute. Season with salt and pepper and serve.

Monday, March 28, 2011

Hand Cut Noodles

Every once in a while, it's time to learn something new. You spent years of your life in school, learning all the time, started working and had to learn even more (usually nothing to do with what you actually studied in school), and finally you reach a point in your life where you're the expert and teacher. That's when it's time to humble yourself by buying a pasta maker.

I must have been delusional when I thought I could make pasta on a weeknight, after working out, when I was ready to eat almost as soon as I walked in the door. Here's what I thought: Mix some dough, run it through the pasta maker to flatten it, run it through the spaghetti cutter attachment, throw it in some boiling water and it's cooked in two minutes. Thirty, forty minutes tops.

Clearly I had never made my own pasta before.

The first problem was that I had no idea what the consistency of my dough should be. First it was too dry, then I made it too moist. It was sticking to everything. Once I got that sorted out, I ran it through the pasta maker attachment so it made a nice sheet of dough. And then I ran it through again and again and again, on finer settings each time. My dough stretched out into long, thin swatches, which I left laying around the kitchen on plates and cutting boards. Somehow a ball of pasta slightly larger than my fist made enough sheets to wallpaper my kitchen. Then I ran it through the spaghetti cutter attachment and got a long rope of dough with ridges in it. As soon as I tried to hold it, it smushed together again. Why was I imagining smooth, separate strands of spaghetti? When I finally gave up on that dream, I hand cut the rest of the dough into noodles and tossed them into boiling salted water. (Note that "hand cut noodles" are often a restaurant special. Now you know they evolved because the dough was sticking to the pasta maker and to itself.) The good news is that homemade pasta tastes great and super fresh!


Here I've tossed my hand cut noodles with broccoli and Italian sausage, a recipe from food52.

Saturday, February 26, 2011

Breakfast Couscous

As much as I like variety in all my meals, I've always been really boring when it comes to breakfast. That is because my breakfast cereal is dosed with crack and I cannot stop eating it. The box says it's just almonds, flakes, and honey. I swear there must be crack in there too though! Despite that addiction, I've branched out occasionally, obsessing over Mexican breakfasts, delicious muffins, oatmeal pancakes, and more. But most weekdays not only is it faster to pop open the cereal box, but also it requires less thinking at an early hour.

It's nice to have a hot breakfast, but it's effort. At least until I came across breakfast couscous. It's only a little more work than cereal seeing as it mostly involves pouring milk and couscous into a pot. There's a few other ingredients like brown sugar and cinnamon, dried fruit and nuts, but it's basically up to you what and how much you throw in there.

The best part is, it's really tasty. I could probably eat the entire 3 serving recipe myself. It's like a eating a bowl of rice pudding, all warm and creamy and sweet. Couscous is just another grain, pretty bland on its own and ready to take on the flavor of anything around it. Once I start making breakfast couscous, I want to have it every day for weeks on end. If I hadn't just made it myself, I'd think there was crack in this stuff too!


Breakfast Couscous (Cooking Light)
Yield: 2-3 servings

Ingredients:

  • 1/4 cups water
  • 1 cup nonfat milk
  • 1/2 cup uncooked couscous
  • 1/4 cup dried cranberries
  • 1/4 cup chopped walnuts
  • 2 tablespoons brown sugar
  • 1/2 teaspoon ground cinnamon
  • 1/8 teaspoon salt
Bring water and milk to a boil in a small saucepan; stir in remaining ingredients. Remove from heat. Cover; let stand 10 minutes. (Mixture will thicken as it cools.)

Tuesday, February 8, 2011

Laotian Fast Food

Since I came back from New Zealand where I consumed the most delicious Asian food, I've had some cravings. So I declared last week Asian food week in my kitchen. Singapore noodles, Vietnamese banh mi, steak salad with Thai salad dressing and Thai hot and sour soup were all on the menu. My repertoire already contains quite a few Asian foods.

I really like getting beyond the stir fry and soy sauce when it comes to Asian food. In fact I didn't even consider making Chinese, though some of the potstickers I made a few months ago were still in the freezer and I popped those into a pan as an appetizer to my noodles. Many parts of Asia are not well represented here. In New Zealand, there was Malaysian and Laotian food at the international food court. I would love to find such a food court here, with the creamy curries, noodles, and spices replacing the hamburgers, fries, and chicken sandwiches.

So it was perfect timing that I found a section of Laotian recipes in a recent issue of Food & Wine. The lettuce wraps I made with ground chicken, scallions, cilantro, shallots, and a surprise ingredient of ground rice powder were delicious. They tasted fresh, with the brightness of lime juice and the bite of raw shallots and scallions. I ground the toasted rice in my new spice grinder - if you have a coffee grinder it should work just as well - and this added a really nice, nutty texture to the dish.

I guess you could say this is the Laotian version of fast food tacos.


Ground Chicken Laap (Food and Wine)
Ingredients
1 tablespoon long-grain white rice
1 tablespoon vegetable oil
1 pound ground chicken (turkey or duck)
1/4 cup plus 2 tablespoons chicken stock or low-sodium broth
1 tablespoon plus 1 teaspoon Asian fish sauce
Salt and freshly ground black pepper
1 tablespoon fresh lime juice
2 large stalks of lemongrass—tender pale inner core only, minced
2 scallions, thinly sliced
1 medium shallot, thinly sliced and separated into rings
1/2 cup chopped cilantro
1/2 cup chopped mint
1/4 teaspoon crushed red pepper
Small romaine leaves and lime wedges, for serving

In a small skillet, toast the rice over high heat, shaking the skillet a few times, until the rice is golden brown, about 3 minutes. Transfer the rice to a spice grinder and let cool completely. Grind the rice to a powder.
In a large skillet, heat the oil. Add the ground meat and cook over moderately high heat, breaking up the meat evenly, until no pink remains, about 4 minutes. Add the stock and cook, stirring, until bubbling. Remove from the heat and stir in the fish sauce. Season with salt and black pepper and stir in the lime juice. Let stand for 5 minutes, then stir in the lemongrass, scallions, shallot rings, cilantro, mint, crushed red pepper and rice powder. Arrange the lettuce and lime wedges on a platter. Spoon the laap on top and serve.